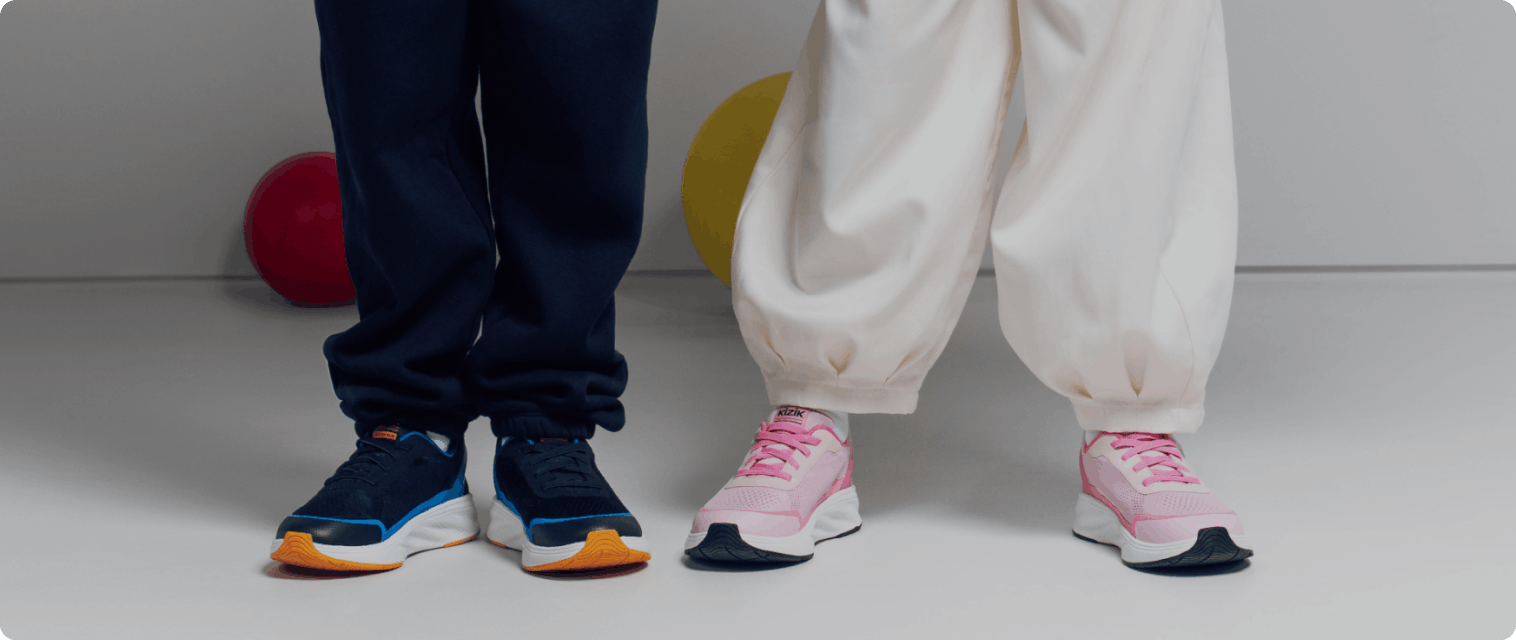


Water is crucial to our lives in so many ways, but it’s not something we want on our feet as we go about our day.
Whether you’re frustrated by the misery you feel after walking to work in the rain, or just looking to reduce bacteria build-up in your shoes during harsh-weather seasons, there are many reasons to wear waterproof shoes.
Unfortunately, most of our favorite everyday styles aren’t naturally waterproof. Unless you’re wearing rubber rain boots everywhere, you’re probably going to need some help to combat rainy days while wearing sneakers, leather boots casual shoes, and other styles.
Here at Kizik, we’d like to help! Today, our footwear guide is all about how to waterproof shoes. We’re going to outline the two main methods, wax and sprays, including the pros and cons of each, and a step-by-step guide.
Waterproofing treatments for shoes: how they work
There are two main methods for home remedy waterproofing shoes: wax and waterproofing sprays. These aren’t the methods used to professionally produce waterproof shoes, but the best waterproof sprays and wax treatments are enough to protect your feet and the longevity of your shoe material for a while.
Which method you use depends on a number of factors, the first being material. If your shoe is made of leather, including full-grain, split-grain, or suede, certain solutions could be harmful to the material integrity. Waxes are typically safe to use, while water-repellent materials can vary widely in terms of appropriateness for certain shoes.
Canvas shoes and shoes made from synthetic materials can hold up to waterproofing products like shoe sprays, but can also work with various wax treatments.
Your decision also depends on how much time you have available. Waxing shoes takes much more time and effort than using a simple protector spray. However, most sprays need to be reapplied after just a few wears, or even every time you wear your shoes in the harshest weather, whereas wax generally lasts a lot longer — sometimes up to a few months.
Remember that technically nothing will ever 100% waterproof your shoes. Enough water exposure will make them wet, but a high level of water resistance is achievable, which should be enough to keep you dry in most circumstances — just don't expect to go swimming in them without getting wet feet.
Waterproofing shoes with wax: tips and hacks
Wax is generally considered the better way to waterproof a shoe for wet weather, although it is a more involved shoe care process than using a simple aerosol spray.
Step 1: Picking your wax
To start, you're going to need to pick a wax to use. Waxes made specifically for waterproofing shoes are abundant. Some are made for specific materials such as leather, suede, or canvas. Beeswax is also effective, as is plain, clear candle wax. Ensure the wax is not dyed or at least is as close in color as possible to the color of your shoe.
Step 2: Prepare your shoes
Before we start applying wax, we need to prepare our shoes for the process in a few ways.
Start by taking out the laces. Then, make sure your shoes are as clean as possible. Follow the cleaning instructions for any given pair to avoid damaging them and get the best clean possible. Most cleaning guides recommend using warm water and laundry detergent. Scrub it on gently with a toothbrush.
If you put your shoes in the washing machine, you should do so with a load of towels, jeans, or other durable items. Leather and suede shoes, such as our Men's Pragues, should not be put through the wash and should instead be wiped down with a damp cloth.
Other shoes, such as waterproof boots and water shoes, are durable enough to survive the wash, but no shoe should be put into a dryer. Let your shoes air dry out of direct sunlight, and without the use of a direct heat source.
The reason we clean the shoes at this step is to avoid trapping any dirt, grime, or stains in with the waterproofing wax. Once we apply the wax, we may not be able to get those back out.
If you're using brand-new shoes, consider breaking them in before you start the DIY waterproofing process. Otherwise, your waterproof seal may weaken once you do start wearing the shoes, and you'll have to repeat the process again. Stay ahead of the game by breaking them in early.
Step 3: Test wax
We know you're already excited to get your shoes back on and get back out to your favorite activities. However, we need to be careful as we proceed. Rather than jumping right into lathering the shoe in wax, let's start by testing the wax on a hidden part of the shoe such as inside the tongue or on the inside of the heel.
Give the wax about half an hour to set in and see if it discolors the material in any way. If things look good after a test or two, you can start applying it to the outside of your shoe.
Step 4: Apply wax
Different kinds of wax need to be applied in different ways. Most wax can be applied by hand or directly from a stick. While you don't want to be too rough, you will need to apply some pressure. The technique could be compared to drawing with a crayon or applying soap from a soap bar to your body.
Apply a generous layer of wax, ensuring that no spots are missed. It is essential that you cover the entire shoe thoroughly and evenly, or else all your efforts are more or less wasted.
When using wax on leather, check the instructions for the specific wax you chose. Some waxes should be applied like a polish to create a shine, while others create an entire sealed layer of protection.
Step 5: Melt wax
This step is only necessary for fabric shoes made of canvas, synthetics, or similar materials, such as our Women's Lima. The wax layer you rubbed on needs to seep into the material of your shoe, where it can resolidify to form a liquid-blocking barrier. To make that happen, we're going to need a heat source.
A hairdryer is a popular tool for the job, as it’s easily accessible and easy to use. Set the hair drier to high heat and go over the shoe until the thick outer layers have disappeared into the shoe.
For extremely hot hair dryers, don’t hold the dryer over seams for too long. You don't want to melt the glue holding your shoe together.
Keep melting the wax until it disappears and your shoe looks the same as when you started. The wax now resides in a layer inside the material of your shoe, out of sight but extremely effective in resisting water.
Leather shoes can skip this step since the wax solutions used for such materials don't need to be melted in.
Step 6: Test & reapply if needed
If everything was done correctly, your shoes should now be mostly waterproof!
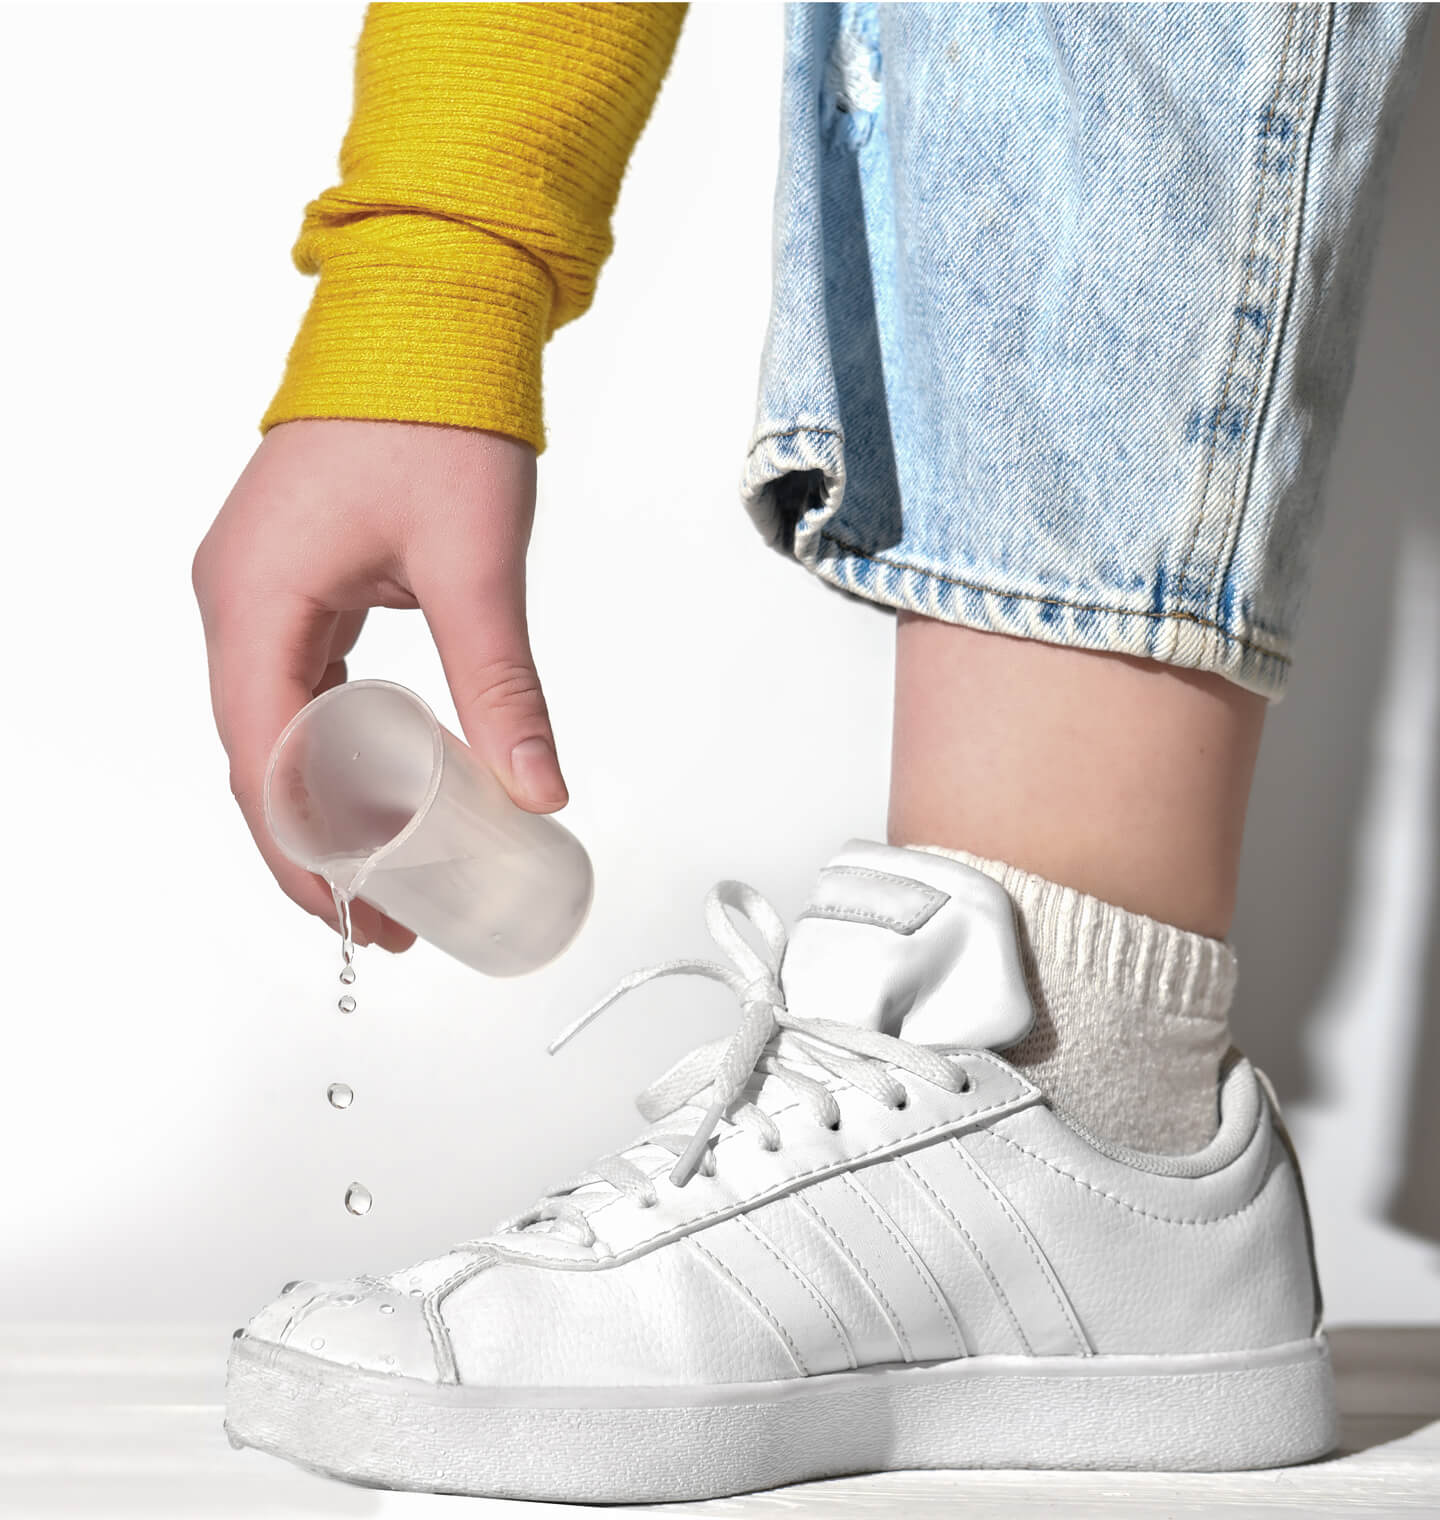
Pour a little water on them to test them out. Ideally, the water should bead and run off the surface. If it soaks in, you may need another coating of wax, or you might have used too much water.
After all, remember that your shoes won't be proofed for total submersion. This process is excellent for keeping out light rain or wet dew in the grass, but not so much for standing for a while in deep puddles.
Be prepared to break your shoes in again as needed. The wax layer will be fairly rigid and can significantly reduce the flexibility and softness of your shoe. After a few wears, the feel of the shoe should be back to normal, so stay patient and trust the process.
Waterproofing your shoes with spray
Looking for something more convenient immediately? Waterproofing sprays are super easy to apply, although they have the downside of lasting for less time before use.
Let’s look at a quick step-by-step breakdown of the process.
Step 1: Choose your spray
Choosing the right waterproofing spray can be tricky due to the number of choices available. Ultimately there is little difference between many of the options on offer.
Read any material restrictions closely before choosing a spray. Even if a spray says it can work with leather, you should consider that most sprays make leather less breathable.
We’re also going to test the spray before we fully apply it, just to be doubly safe that discoloration isn’t an issue.
Step 2: Clean your shoes
Just like the wax process, we need to clean any shoes we intend to waterproof before the process actually begins. Dirt and stains left on the shoe could become trapped, although waterproofing sprays are much less problematic in this regard than wax since the spray finish will last only a short time.
During this step, you should also remove the laces and lift the tongue so that when you spray, you can hit all areas of the shoe.
Step 3: Apply spray
Before spraying all over your shoe, test the spray on a hidden part such as inside the tongue or inside the heel. If there is no discoloration after 30 minutes or so, you can begin spraying the rest of the shoe.
Putting waterproof spray on your shoes is much simpler than applying wax. Simply spray around the shoe generously, but not excessively. You don’t need to completely saturate the shoe in a spray solution. Just a shiny coat of spray will do.
Ensure it’s as even as possible across the whole body. A spotty coat defeats the purpose of the effort before it even has a chance.
Step 4: Dry the shoes
When drying sprayed shoes in the waterproofing process, don’t use a heat source such as a hair dryer. This could damage the shoe, ruin the treatment, and potentially even start a fire.
Air drying for about 24 hours, or sometimes less, should suffice. Some sprays, however, only require about 30 minutes. The instructions for any given spray you choose should help here.
Final Remarks
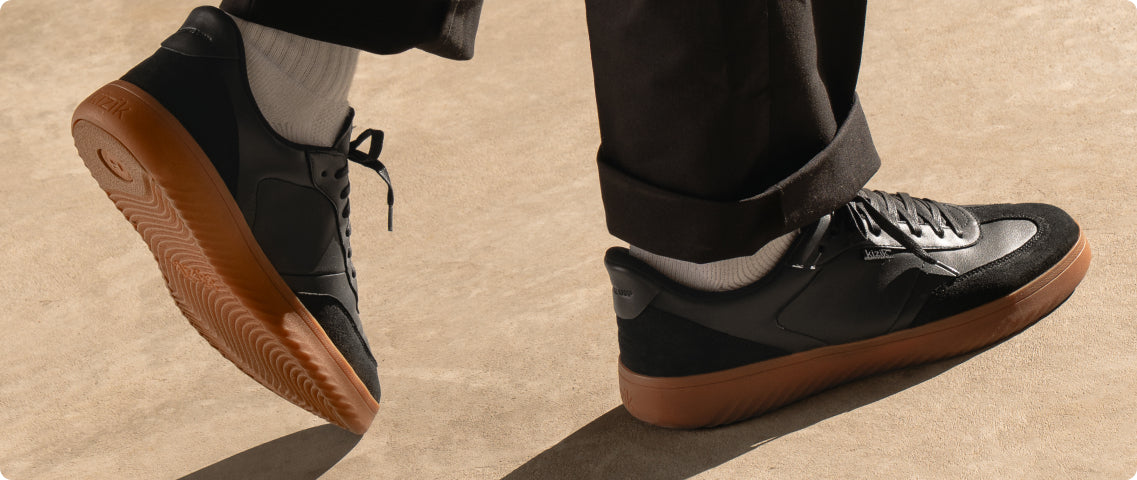
With the two main waterproofing methods laid out, we hope you’re feeling prepared for getting your shoes winter or rain-ready. Whether you opt for wax-on leather shoes like the Vegas or spray-on synthetic fabrics like the Athens, there are great options for protecting you from the elements.
For all things innovative footwear and lifestyle guides, check back frequently to our blog, where we post all kinds of helpful tips!
Sources:
Bacterial Infections of the Feet and Toes | Very Well Health


