


Some garments are fairly easy to parse in how they are made. Shirts, skirts, pants, and jackets follow an easy process from product sourcing to design. The shoe manufacturing process is a bit different.
Shoemaking involves a complex series of steps to wind up with the finished product. This is the case when creating sneakers, flip flops, high heels, or work boots.
It used to be that the shoemaking process involved cobblers using hammers and nails to hold pieces of shoes together. Though cobblers still work, the shoe industry has refined its process.
We’re here to guide you through it. Whether you’re an aspiring shoemaking enthusiast or just curious about the process, this guide will show how footwear is made.
Step 1. Initial design
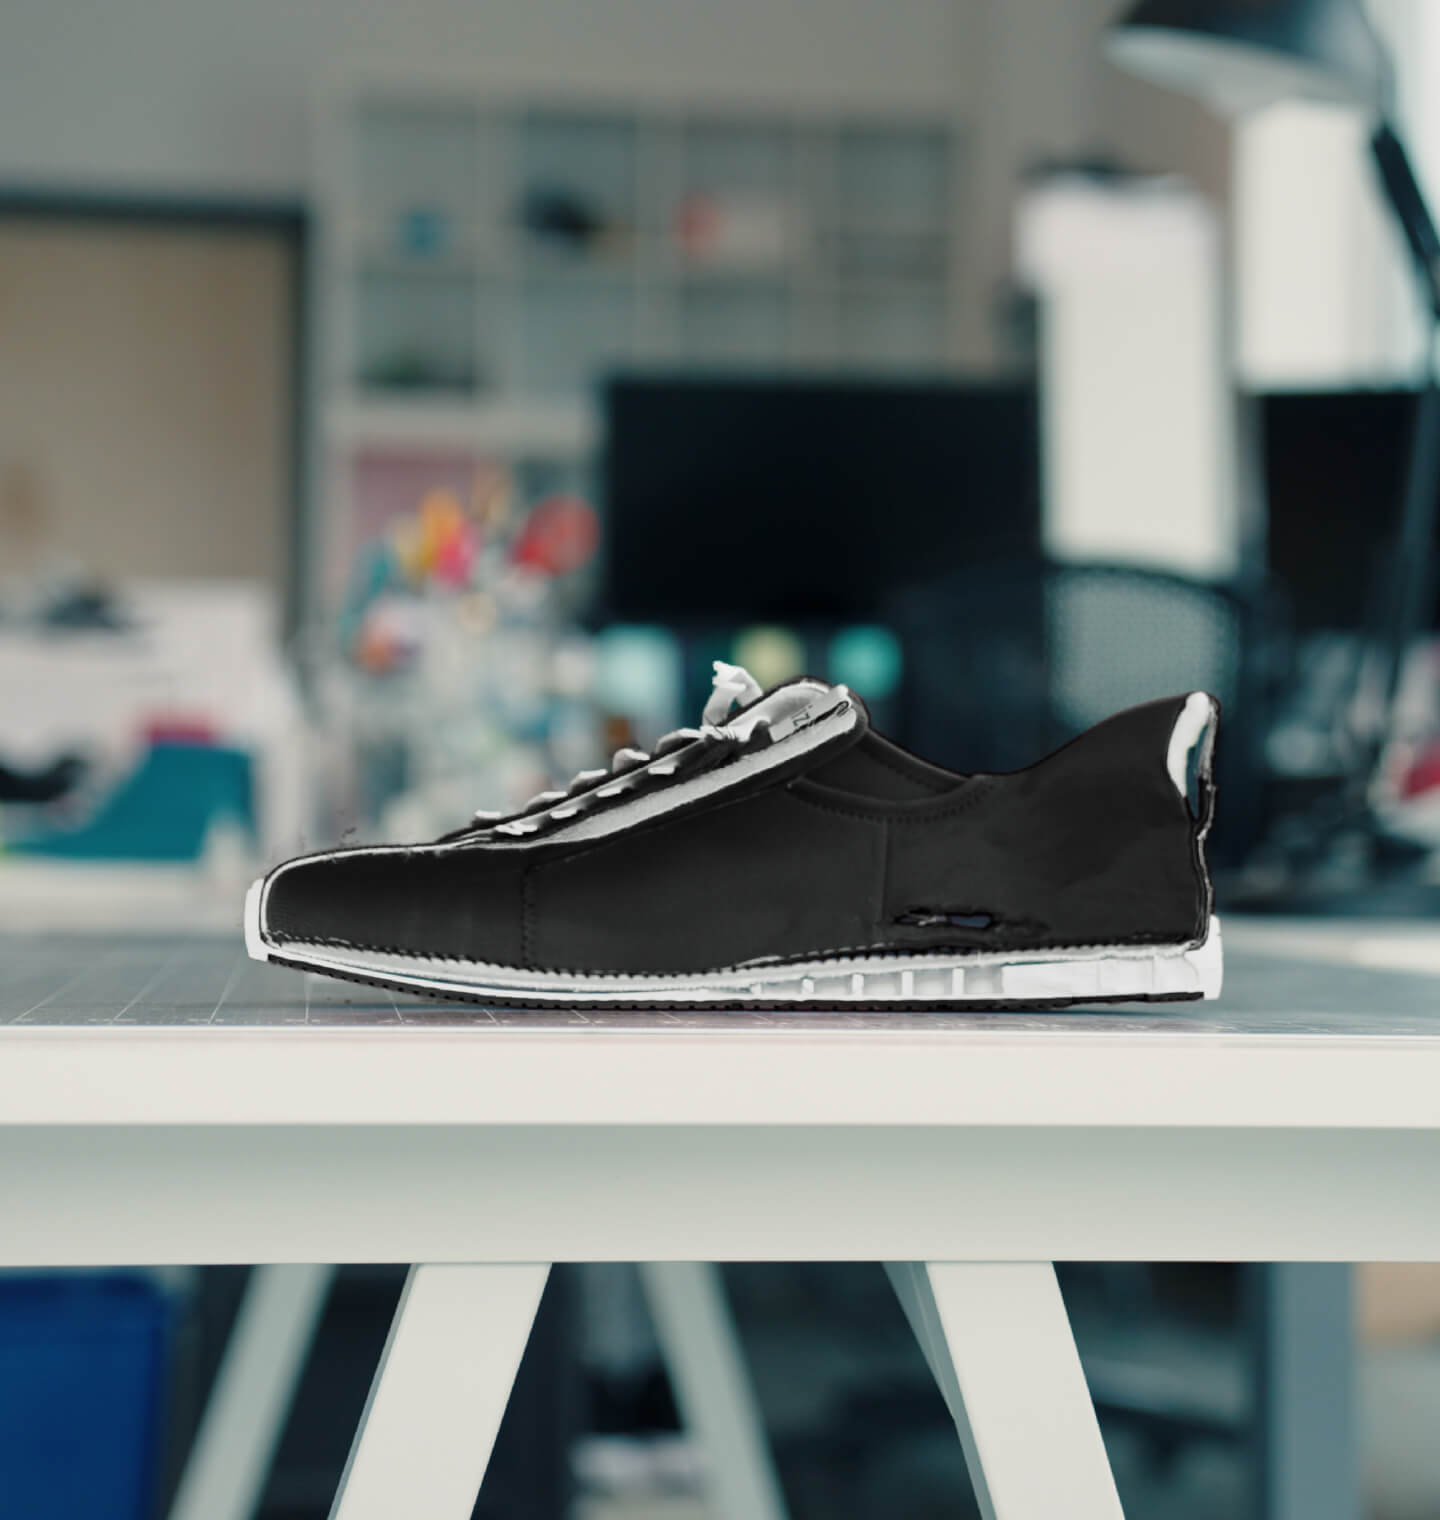
The first step in the creation of anything is the initial design process. The shoe design process may be the work of one individual or the work of a team. There are generally two phases of footwear design: initial design and technical design.
The initial design is the work of a creator with a vision in mind. This usually places a focus on the aesthetic and core technical elements of the shoe. What does it look like, what does it feel like, and how is it worn?
From there, the initial designer may refine it, or pass it off to another designer. This could also y be someone in-house their company or an outside design company. Then, we enter technical design.
The technical design then refines the initial design by overcoming functional challenges and turns the blueprint into reality.
How does everything fit together? What materials will be used in the creation? What are the exact dimensions and design specifications of the shoe?
All of these questions are asked during the technical design process. Which will go into informing the creation of the first physical prototype.
Innovation is design
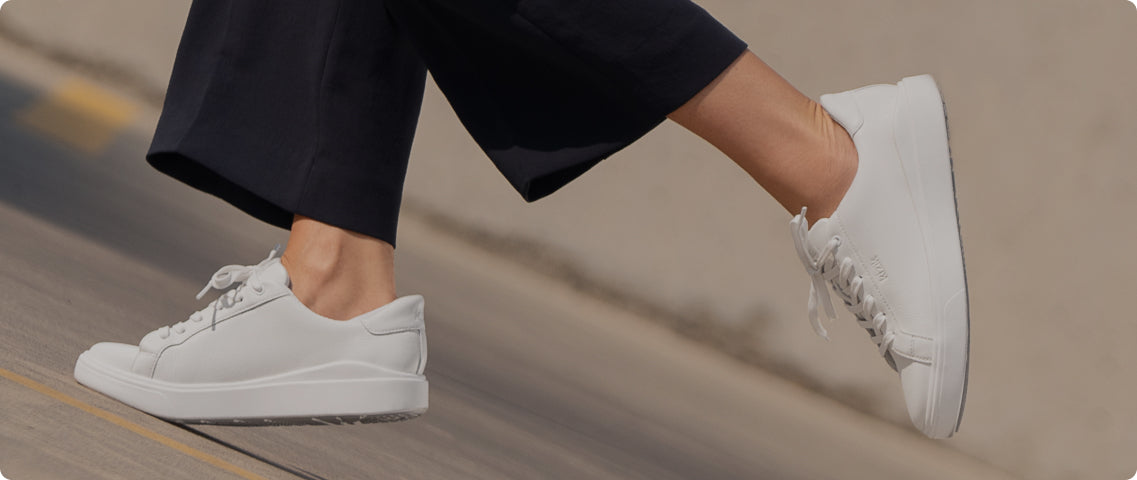
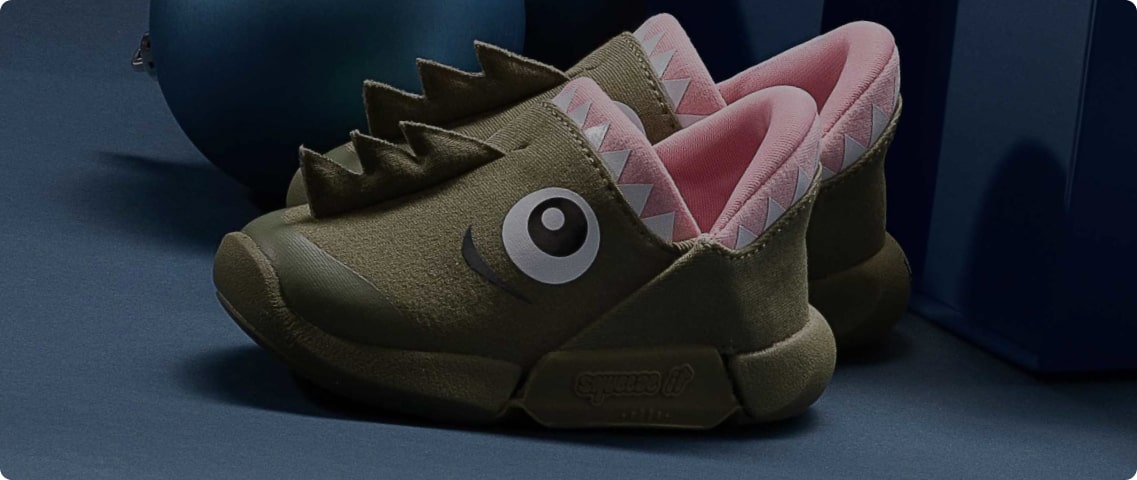
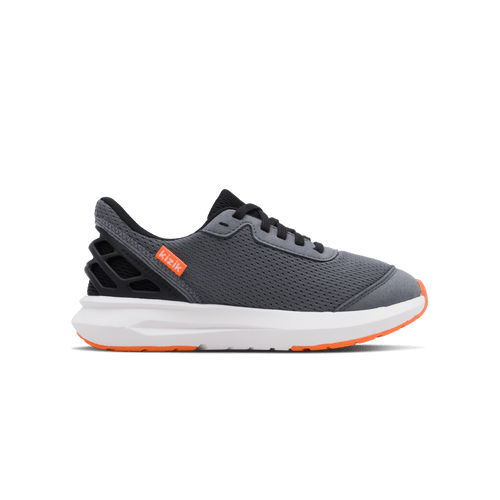
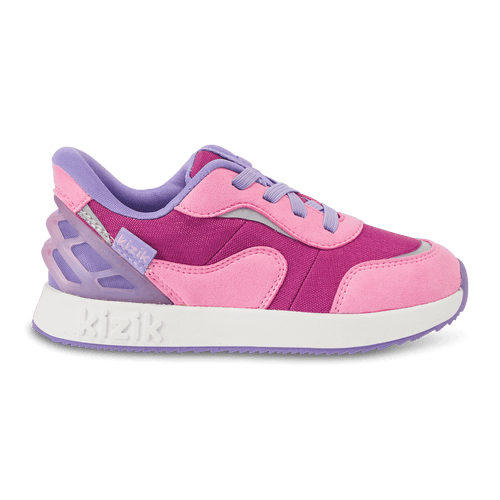
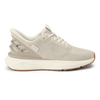
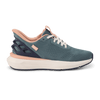
For an example of how the design process breeds innovation, we’d like to turn our gaze inward. One look at Kizik shoes reveals one unifying and unique benefit:
There’s no need to get tangled up in retying them.
The shoes can easily be slipped on, making them easy for everyone.
Are your kids too young to tie their shoes? Does a disability make it challenging to repeatedly tie and retie your own shoes? What if you didn’t even have to bother? With Kizik’s easy slip-in heel technology, you tie them once to feel just right and you're done.
Step 2. What are shoes made of?
Few, if any, shoes are made from a single material. The upper, insole, and outsole of shoes are each made from a variety of materials. These materials depend on both the intended purpose, style and type of shoe.
Some of the most popular choices for the upper are leather, canvas, and mesh. Full-grain leather, for example, adds a luxurious aesthetic to any shoe. Its also remarkably durable, making for shoes that can last years.
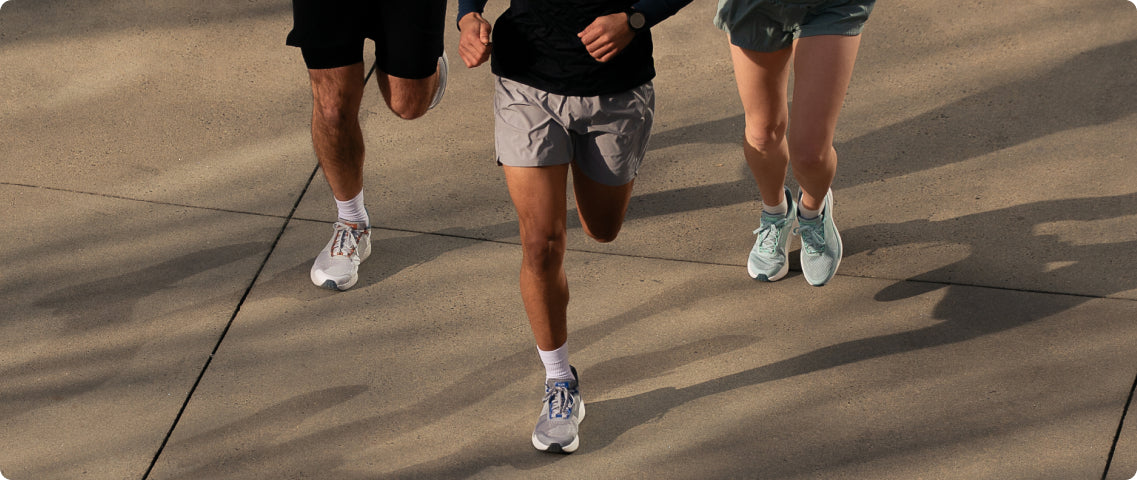
Leather is a common outsole material for dress shoes, while synthetic fabrics are regularly used for casual and athletic shoes.
Before the specific materials are assembled, however, there’s another step: creating your last.
Step 3. Creating a last
When you walk into a clothing store, you’ll invariably see mannequins. These are used to both design and model clothes. Consider a last to be a model for the shoemaking process.
Shoe lasts don’t bend or flex. A last is generally made out of a hard or semi-hard material, like wood or rubber. Traditional wood last making is even considered an endangered trade in the UK. This is surprising, considering that it’s an essential component of the shoe manufacturing process.
Each pair of shoes that is made is modeled around the last. A last has to be produced to fit the unique shoe shape and needs a left and right foot version. The creation of a last for a shoe factory may cost hundreds of dollars because of this. It’s a complex process, requiring attention to the smallest ways our feet move in different positions.
Once the last is finished, the actual manufacturing can begin.
Step 4. Initial manufacturing
The initial manufacturing process involves a great deal of stamping and marking. At this point, materials have been sourced, and the last is created.
For entirely handmade shoes, each part needs to be carefully stamped. The stamps relay where cuts should be made, where seams should go, and where eyelets will be. If a shoe has accent marks of any kind, these are also placed on the materials.
For machine-cut footwear, this requires making the perfect die to cut with. Each part of one’s footwear requires its own unique cutter. This could involve dozens of different dice to ensure all the separate pieces are crafted.
Once the initial process has concluded, the time has come for the various pieces to be sewn together.
Step 5. Sewing
At this point, individual pieces are cut and sewn together. This part of the shoe production process involves attaching most components of the shoe and inserting holes for eyelets. Crucially, this is where the outsole, the insole, and the upper begin to meet.
The way the upper part of the shoe and the insole connects is called welting. If you’ve ever seen a strip of fabric where the two meet, you’ve seen the welt. There are numerous different ways that a shoe company may welt their products together.
A welt may be created with a sewing machine, by hand, or even through heavy machinery. Technically, at this phase, the welt has not yet been created. Instead, the shoe is being assembled around the last. The last helps give it its shape as the piece is attached.
Some parts may be attached with a temporary measure: For example, the insole, outsole, and upper may be connected with nails or pins prior to a formal welt. Regardless, the next step in the process solidifies the connection all these pieces have with each other.
Step 6. Welting
There are many ways to create a welt on a shoe. One of the worst ways is with cement. Cement welts simply use glue to adhere the components of shoes together.
Here’s the problem with cement: It doesn’t last exceptionally long, and yet it is exceptionally hard to replace. Once a shoe with cement welting begins to lose its connectivity, all is over.
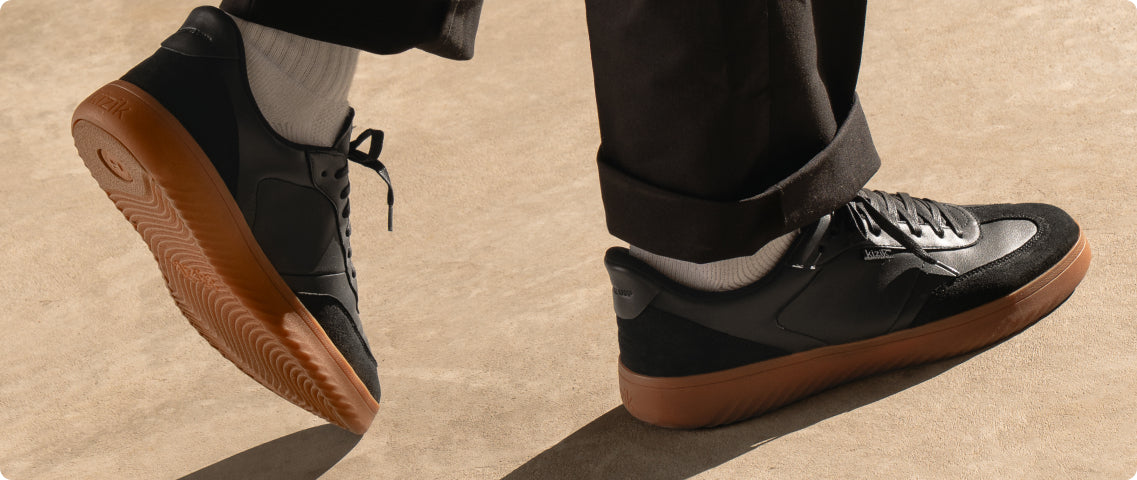
Vulcanized rubber welting is one of the most popular contemporary ways to welt shoes. A wide variety of casual shoes are welted this way. This method, utilizing products invented by Charles Goodyear, allows one to welt multiple shoes together quickly. Rubber is melted just enough to bond to other materials, resulting in a durable product.
Another type of welting is Goodyear welting, named not after Charles Goodyear but after his son — Charles Goodwin Jr. A Goodyear welt uses two layers, where the gap between the midsole and insole is filled with cork. This is extremely popular with leather shoes and other products designed to last extended periods of time.
These shoes aren’t just durable: They are exceptionally water resistant. It makes producing a whole line of modern shoes with this style extremely challenging.
An alternative to Goodyear welting is the Blake Rapid method. With this method, shoes are rapidly assembled thanks to the use of sewing machines. These welts are incredibly durable but may make your footwear less flexible.
There are seemingly-endless ways to welt a shoe, each with its benefits and drawbacks. The important detail is this: At this point, your shoes are nearly perfectly made. All that remains are a few finishing touches from the decorators.
Step 7. Decorating
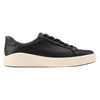
Once the shoe has been welted and fully connected, only one detail remains: decorating and finishing the shoe. This is the phase where any personalized touches may be added. If a shoe has decorative perforation or toe caps, they are added here. This type of decoration is especially popular with dress shoes, for example.
The decorating process is also where designers hide the signs of their previous work. If any holes, warps, or discoloration exists from the manufacturing process thus far, it is eliminated at this stage. Quality control is essential to ensure that the footwear performs and looks its best.
As for how a shoe is decorated — you’ll need to polish, buff, and sand to make shoes look fresh for the shelf.
Believe it or not, for many shoes, the lasts are still in place at this point. When all the finishing touches are placed, the last is finally removed. Once the last is finally removed, the shoe is finally ready to go from the production floor to sales.
Step 8. The sales floor
The sales floor, the shoe room, and the showroom all refer to the same place: A place where completed garments are ready to be shipped or sold. Older footwear, prior to the age of mass production, didn’t go through nearly as extensive a process. Modern shoes have far more to contend with.
Last step: Your home
Every pair of shoes has its own journey before becoming a part of our own. Once on our feet, they take us to work, to school, vacation and more.
Now that you know how shoes are made, you can fully appreciate your own part in completing the process.
Kizik is proud to provide a one-stop venue for everything from accessible footwear to in-depth explanations of the footwear industry. Visit Kizik, and find out all about our love of convenient, laceless shoes!
Sources:
Working as a Cobbler: The Economics Daily I U.S. Bureau of Labor Statistics
Shoe and Boot Last and Tree Making | Heritage Crafts
Charles Goodyear, Jr. - Inventors | Digital Public Library of America


